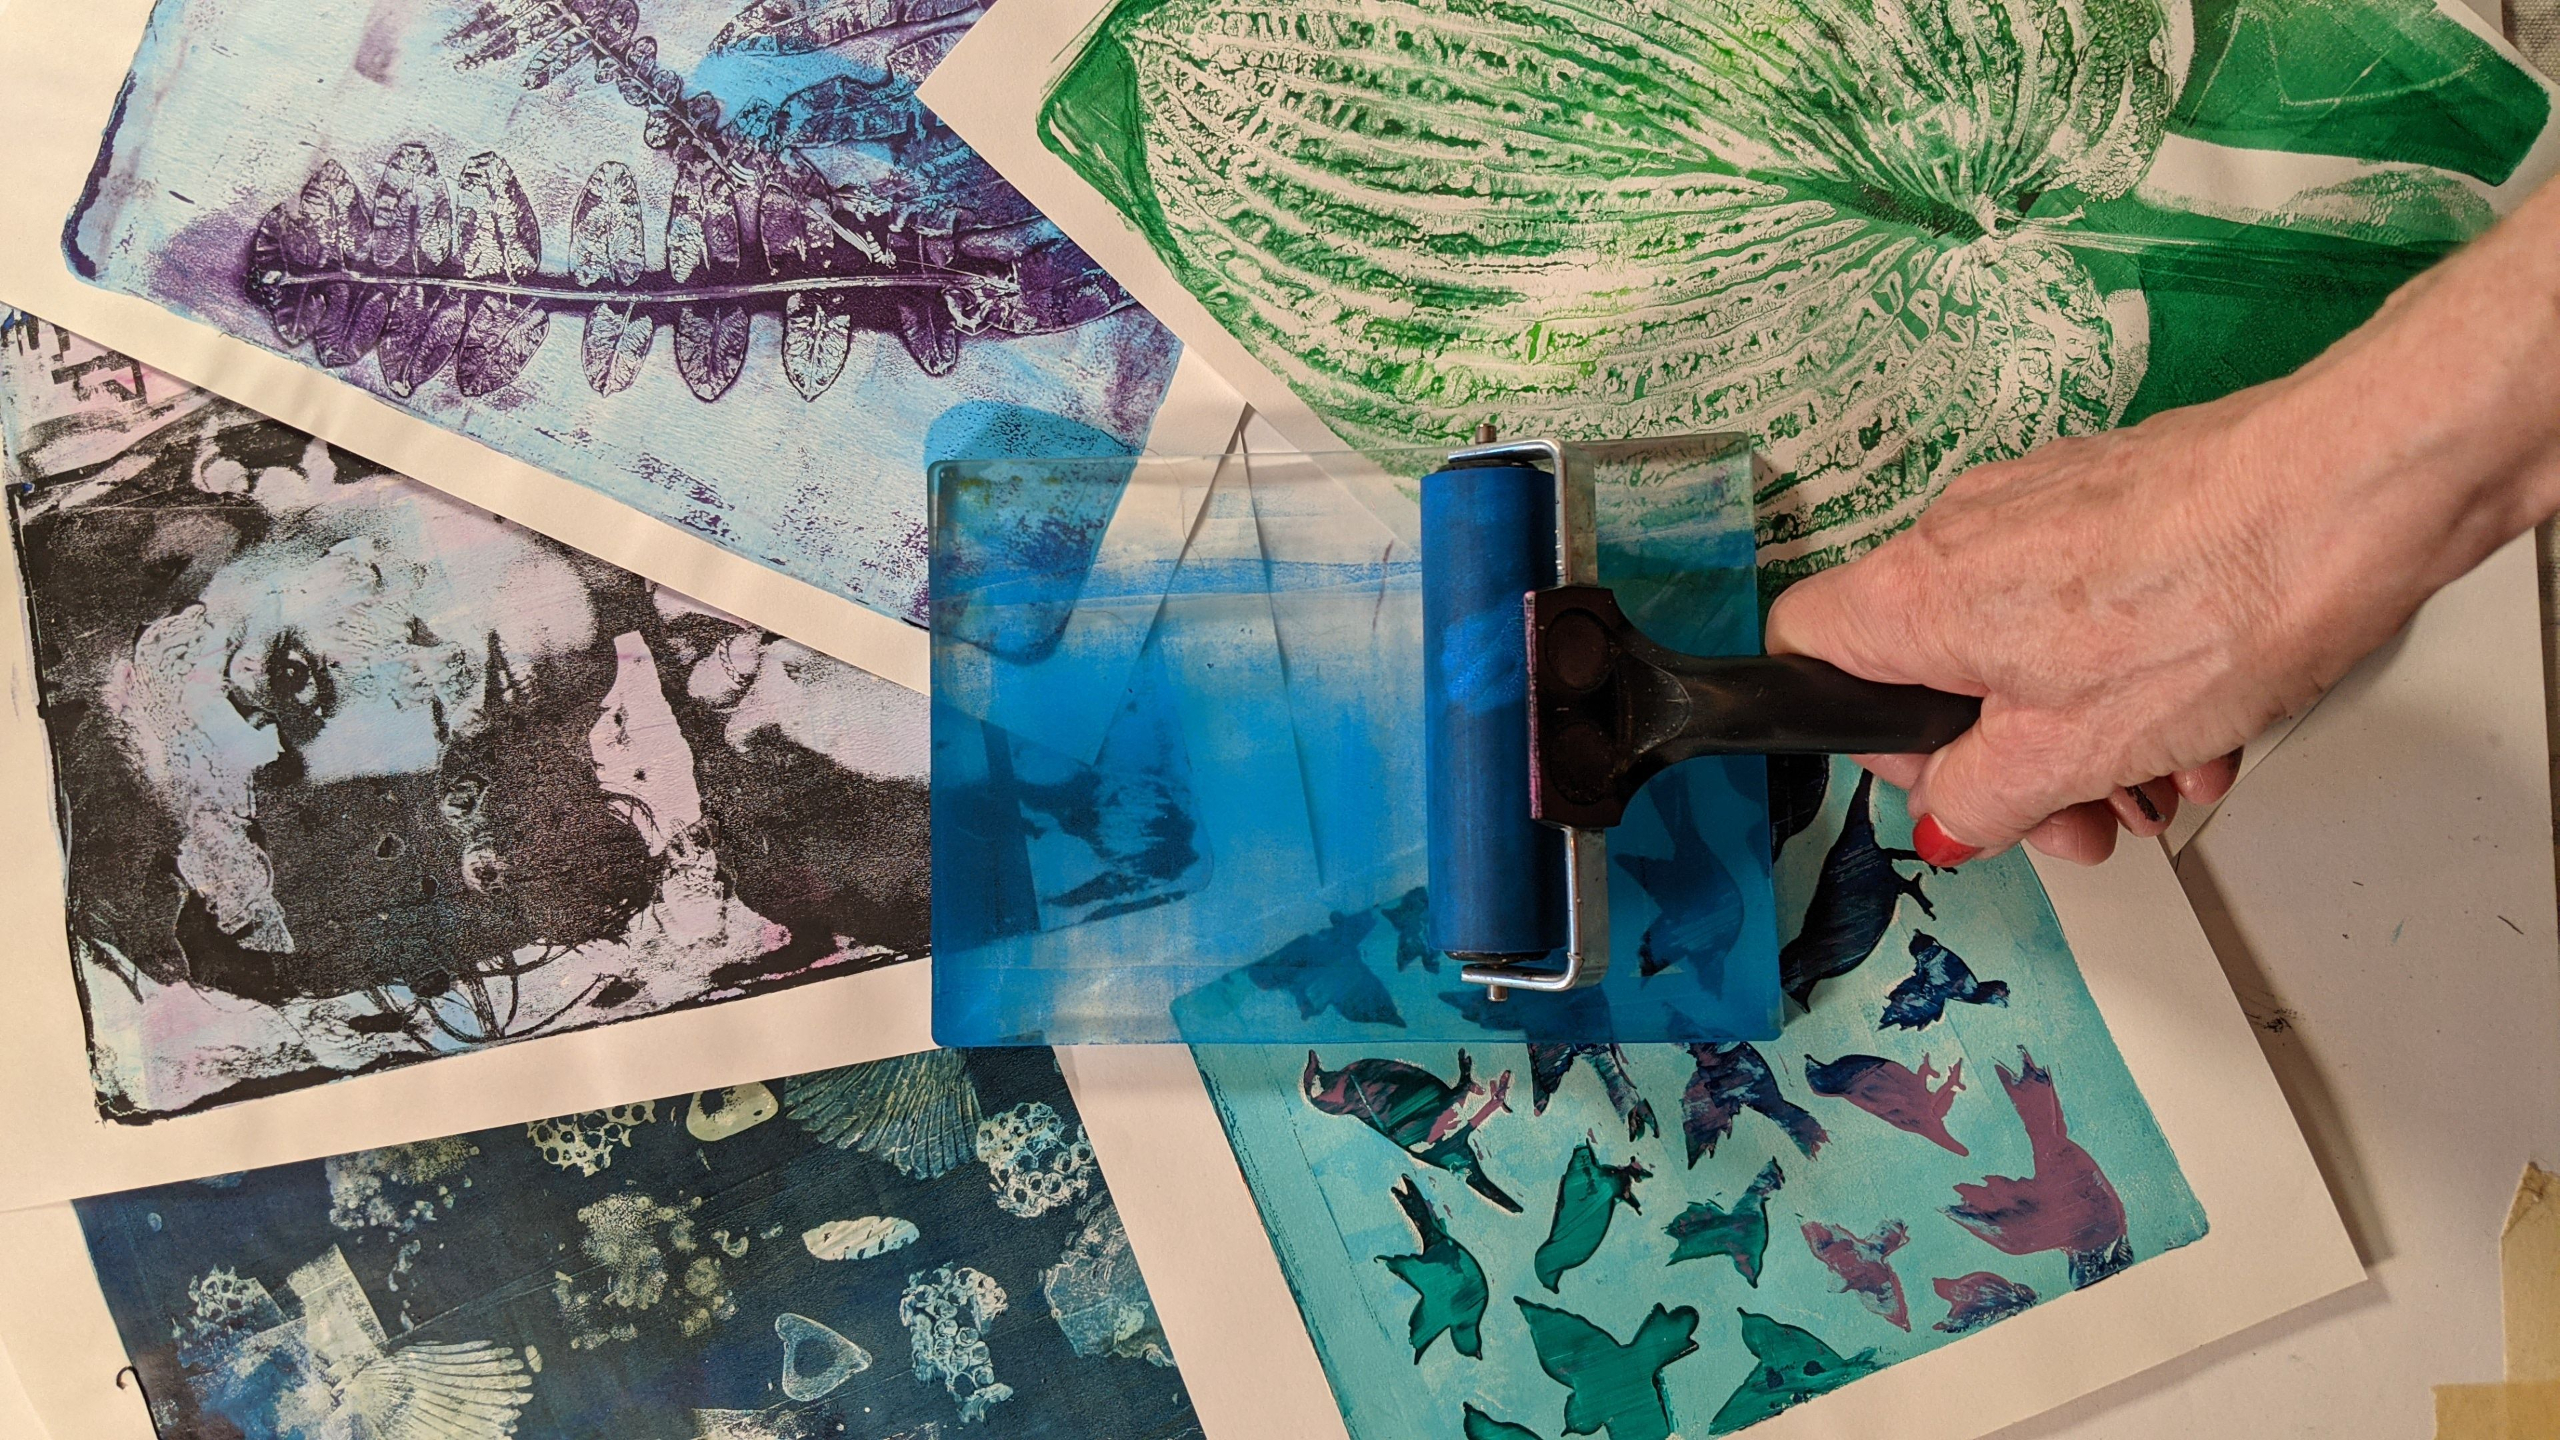
The Gel Print Studio
The Gel Print Studio is the only course of its kind that not only teaches you the fundamentals of gel printing--but how to create gorgeous prints that express your unique creativity! Whether you're a complete beginner or have some experience, you will finesse this amazing art form by mastering color choices and composition.
If you’re a beginner who’s curious about gel printing, someone who’s tried it but feels stuck, or a creative who wants your prints to truly reflect your style—and you want to create stunning prints that excite you every time—then you already know:
-
Choosing colors and textures can feel like guesswork.
-
Some prints never turn out the way you imagine, no matter how hard you try.
-
You love experimenting, but something about your compositions always feels “off.”
-
You’ve seen amazing prints and wondered, “How do they make it look so effortless?”
That’s why you need guidance that shows you step by step what works, why it works, and how to make it your own—so you can confidently create prints that are uniquely yours.
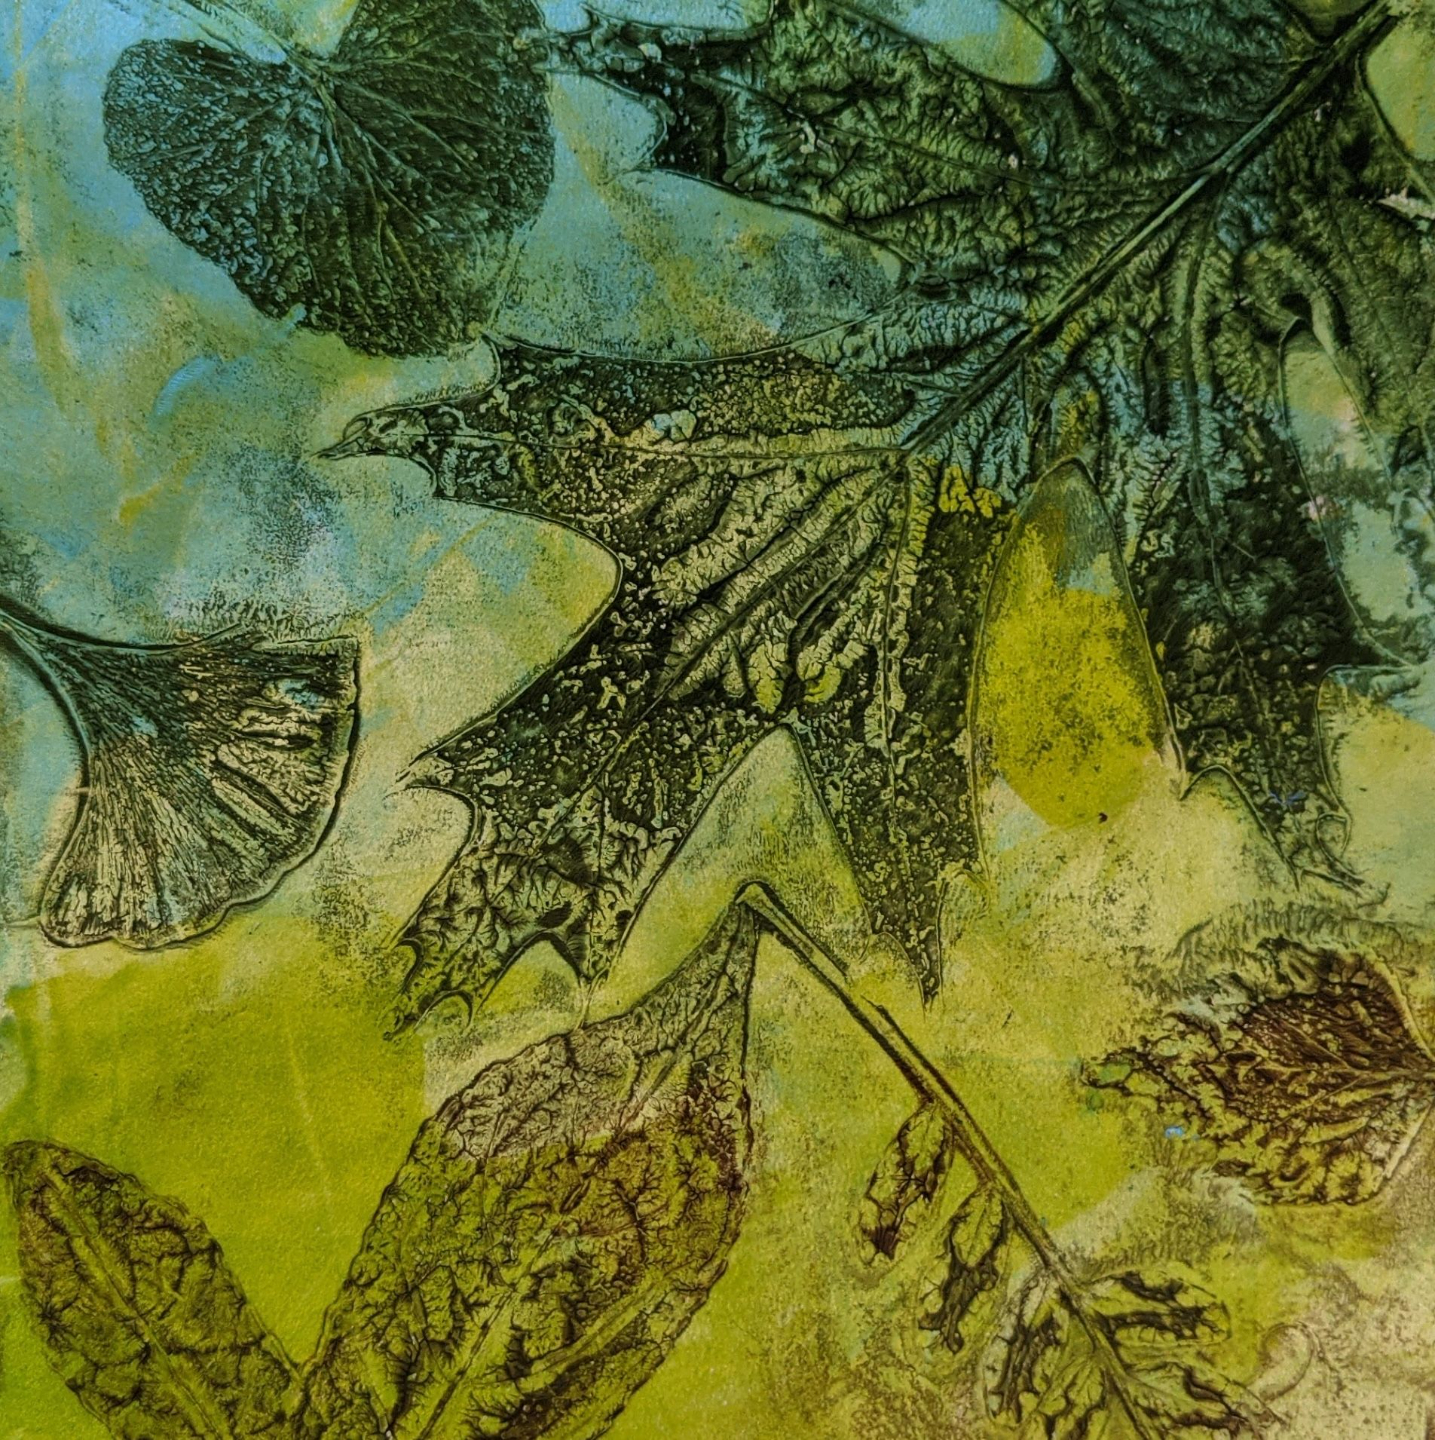
By the end of this program,
you will have…
-
Followed a fun, step-by-step process that builds your skills sequentially—down to how much paint to put on the plate!
-
Mastered composition—know which colors, contrasts, and objects make your prints truly dynamic.
-
Created vibrant, clean colors every time—avoid muddy blends and sticky paper.
-
Layered like a pro—especially with semi-transparent paints for depth and dimension.
-
Transformed your prints into beautiful, usable items—journals, zines, gifts, and more, instead of letting them sit in a stack.
Enroll in The Gel Print Studio Today
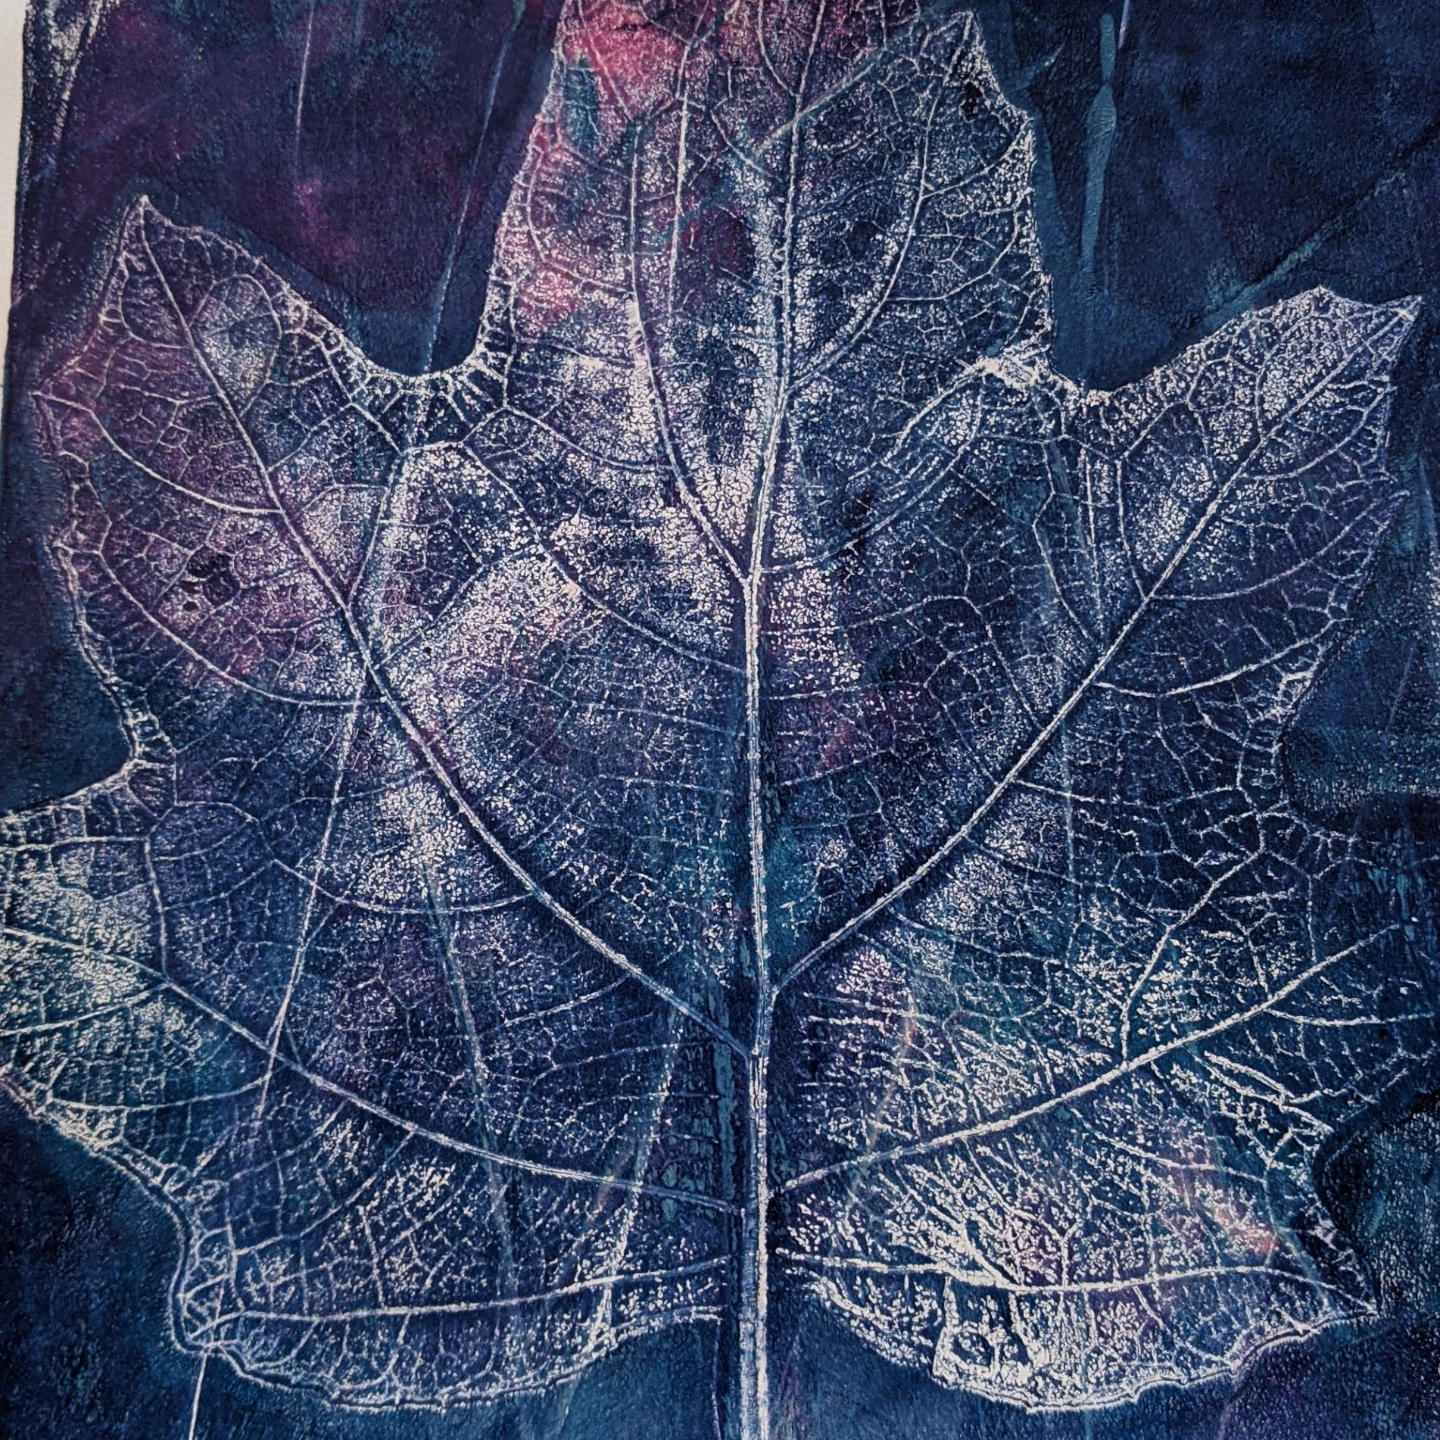
We start with botanical prints because they are the easiest to master. You'll learn how much paint to put on the plate to get this level of detail.
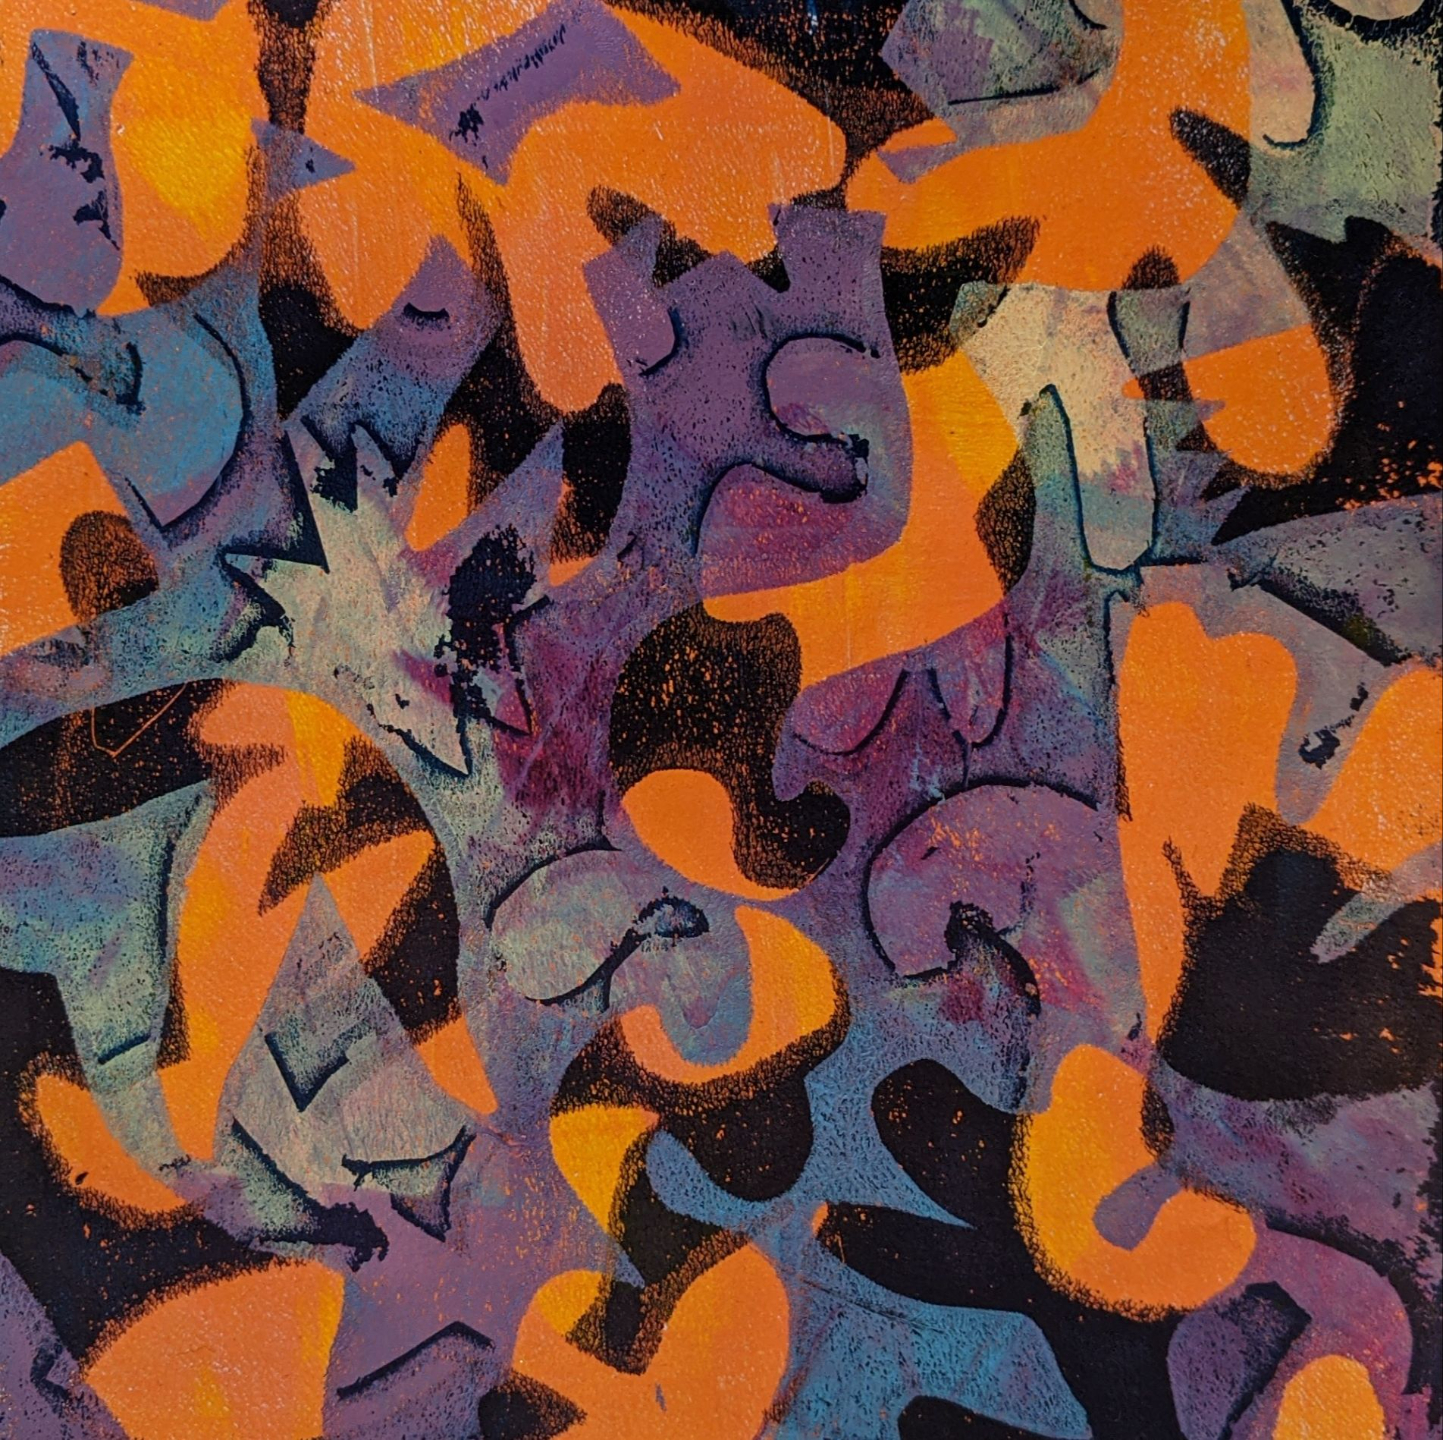
This print was made with masks--which you will learn about in Module 4. Figuring out how to create beautiful layers is the key!
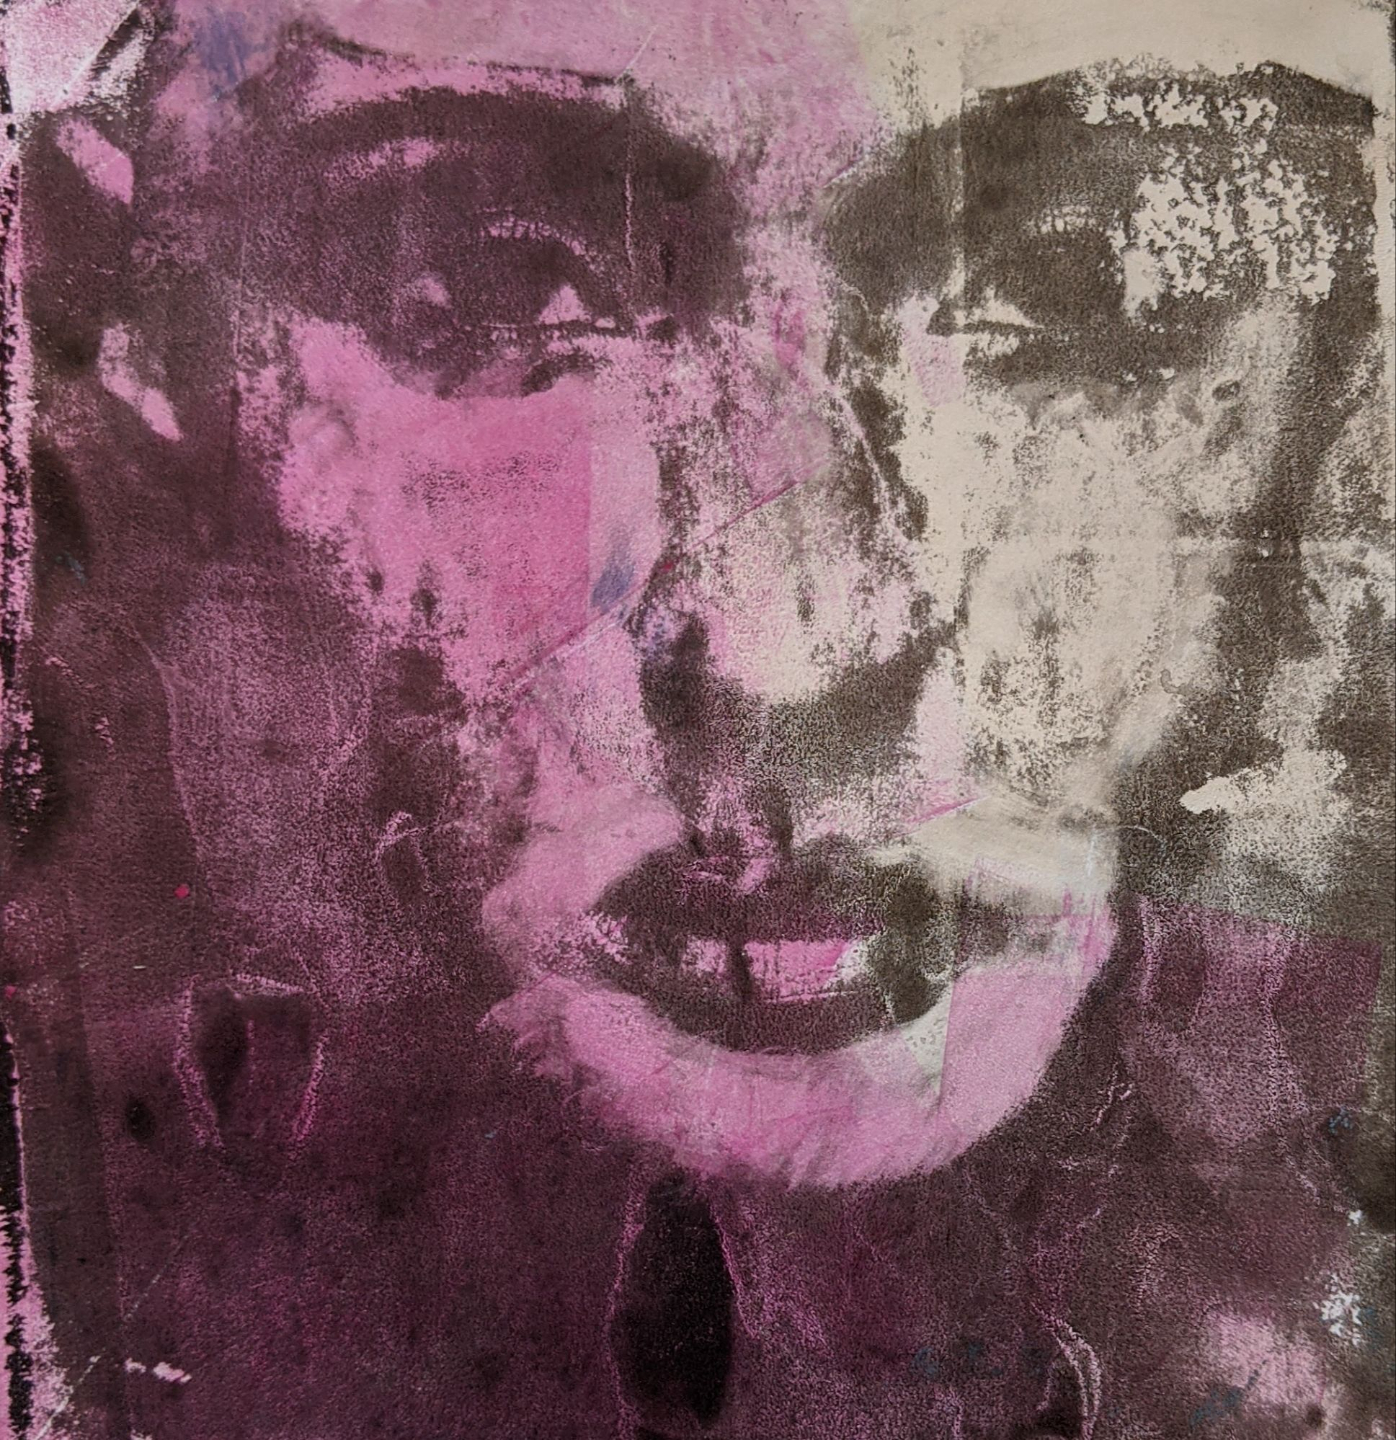
Magazine or image transfers--the trickiest prints to make--will be covered in Module 8. Discover the 3 secrets to pulling an amazing print.
What’s Inside The Gel Print Studio
Module 1
Supplies
This module is available to you as soon as you sign up for the course. There are 7 videos which detail the bare-bones minimum supplies you need to have on hand, as well as items that are optional. All you really need are: an 8" x 10" gel plate, 3 brayers, paper (copy paper is fine), and about 7-8 tubes of paint. There's a downloadable supply list (PDF) that tells you everything you need to have on hand, from printing to cleaning and storing your plates. In this module you'll also learn about the order of colors that are used in gel printing...which colors should go below others?
Module Highlights:
- Paint opacity: this is all about how transparent (or not) a paint is, and how it affects your prints. When we get to the module about layering, opacity counts. An entire video is dedicated to this topic.
- Check out my "stash" of textured items that are fun when adding texture to your prints--seashells and starfish, rocks, trash from the recycling bin, cut glass crystal, fake flowers, you name it---start stockpiling these items now! Also start looking for black and white images you can use for image transfers, which we'll get to in Module 8.
- Heavy body paints: what are they, and when is the best time to use them in gel printing? Learn the difference between heavy body and medium body paints, and the kinds of projects that require one over the other.
Module 2
How Gel Printing Works
In this module you'll learn the keys to successful printing: how much paint to put on the plate, how quickly you have to work, and what makes the paint release from the plate. If you understand this, you'll be able to troubleshoot typical problems that arise. We're going to start printing with botanicals (the easiest and smartest things to work with). You'll learn how to do a one-layer pull and a two-layered pull.
Module Highlights:
- How much time do you have to get your paint on the plate (plus press items into it), and how much time do you need in between layers? This is one of the biggest issues new gel printers face, and you'll know the answers by the end of the module.
- What is a "ghost print"? You'll discover what they are and the smart way to pull them from the plate.
- The importance of contrast. This is what can take a gel print from "meh" to "my gosh, that's fabulous!" You need to create contrast between the textured items you're pushing into the plate and the paper, as well as between the layers of paint colors that you're using.
Module 3
Working with Texture
Pressing textured items into the paint on your plate is a fabulous way to create interesting prints! In this module we'll explore the various items you can use, from rocks to lace to the trash in your recycling bin.
Module Highlights:
- Some items plop down nicely into the paint, whereas others are more of a challenge! I'll show you tips about how to get a good, clean impression.
- It's really important to choose the right color for your second (pick-up) layer, otherwise the texture you just created won't show. This module does a deeper dive into color choices and contrast, so that your paint layers "pop".
- Learn how to make foam stamps and other objects that can add interesting lines and marks on the plate.
Module 4
Working in Layers
This is one of the biggest challenges that new gel printers face. Which colors go on the plate first? Which ones go last? How do you layer your paint so that it doesn't block out other layers and create a confusing mess? Also, gel printing is different than many other printing methods. In block printing and silk screening, the surface being printed on is below the inked surface; in gel printing, it's just the opposite. This can get your head in a twist. We will untwist your head in this module!
Module Highlights:
- How to avoid "mud": the ugly brown color that appears when you blend the wrong colors together.
- You can create prints that have 4 or 5 layers of paint....what's the best method and the best paper to use?
- Create gorgeous "background papers" that add depth and interest to your work, from grunge looks to Monet-inspired delicacies.
Module 5
Masks and Stencils
No gel print course would be complete without diving into the use of masks and stencils. Stencils allow paint through; masks prevent it. You'll learn how to use both in this module.
Module Highlights:
- Masks can be made from cutting out pieces of a manila folder...but plants can be used as masks too! I'll show you how to create and work with your own masks.
- Discover how deli and watercolor paper can work so well with masks and stencils.
- Registration is important when you want to create prints with aligned edges. Because we'll be layering paint layer on top of paint layer in this module, you'll learn some simple ways to make sure that everything lines up perfectly.
Module 6
Printing Without Paint
Water-based acrylics are not the only thing you can use on your plate. The beauty of gel printing is that you can use so many other water or alcohol-based products on it!
Module Highlights:
- Learn how to use Posca pens, distress oxide pads, acrylic inks and tubes of watercolor paint.
- I'll show you how to carve a rubber block to create your own unique stamps, and how purchased stamps and blocks...like vintage ones from India...can create gorgeous looks.
- These products can also be used in conjunction with regular acrylic paints. For example, you can mix Posca pens with acrylic paint all in one print....I'll show you how.
Module 7
Gel Printing on Fabric
Yes, you can gel print on fabric! But you need to be working with paints that won't wash out if you throw the printed piece in the laundry. Also, certain fabrics aren't right for gel printing. In this module you'll find out the perfect paints and fabrics to work with.
Module Highlights:
- Pro tip: you don't have to go out and buy a lot of new paint. There's an easy, inexpensive product that can turn your existing paints into fabric paints.
- Not all gel print designs work well on fabric, because you lose some lines and some contrast. I'll show you the types of designs that really pop on a fabric piece.
- Block print and silk screen inks for textiles also work on a gel plate. You'll discover how to use them.
Module 8
Image Transfers
Once you've mastered working quickly and applying the right amount of paint on your plate, you can move on to image transfers. We'll be working with black and white photos taken from magazines or "coffee table" type art books. These prints are the trickiest to finesse, but once you have it figured out, it's like riding a bike--you won't forget how to do it.
Module Highlights:
- Learn the 5 big keys to creating successful image transfers.
- Discover the best colors of paint to use for the transfer and then the pickup layer.
- In this course, I do not teach how to take your own photos and prep them for an image transfer. This frequently involves bringing the photo into Photoshop and manipulating it before you can print with it. That said, the 5 big keys mentioned in the top bullet point are all absolutely necessary if you want to print with your photos. If you master the 5 keys, you can move on to more advanced printing techniques.
Module 9
Pulling It All Together
What do you do with all of those gel prints? In this module I'll spark some ideas for you to follow up on.
Module Highlights:
- Do you want to sell your gel prints or show them in a gallery? I'll go over some of the logistical and copyright things you need to know about.
- What about bringing your prints into a digital format, such as Photoshop or Illustrator? I'll explain the pros and the cons to both.
- Creating gel prints for the holidays is a lot of fun. So is taking a mini gel print set with you on vacation and printing your memories. Discover some new ways to bring gel printing into the festive part of your life.
Money Back Guarantee

I’m so excited that you’re considering joining us inside The Gel Print Studio. I’ve thoughtfully designed this course to teach both technique and composition in a clear, comprehensive way — so you can build real skill and confidence at the gel plate.
Module 1 is available immediately upon enrollment, and Module 2 will be released on Monday, September 21st. By the end of Module 2, you will be confidently printing both one-layer and two-layer pulls.
If after completing Modules 1 and 2 you feel the course isn’t the right fit for you, simply email me at jenna@jennamcleanart.comby Saturday, September 26th at 9 pm EST, and I will promptly refund your full payment. Access to the course will be removed upon refund.
Frequently Asked Questions
How is the course structured?
Do I need to buy a lot of supplies?
I've never done gel printing before. Is this the right class for me?
I have some experience as a gel printer. Should I take this course?
Will there be any Zoom calls with instruction and trouble shooting?
How long do I have access to the course?
What will you not be covering in this course?
Are the lessons the same as the ones in your Youtube channel?
Enroll in The Gel Print Studio Today
Still thinking about it?
If you’ve been hovering over the enroll button, wondering if this is the right time, let me say this…
You’re ready if you’ve been experimenting on your gel plate but feel something is missing — more clarity, more structure, more intention.
You’re ready if you want to understand why a print works, not just hope that it does.
You don’t need to be advanced.
You don’t need to be naturally gifted.
You simply need to be willing to learn and practice.
If you’re craving a clear path instead of piecing things together from scattered videos — and you’re ready to move from random results to intentional layers — this is your next step.
I would love to welcome you inside The Gel Print Studio.
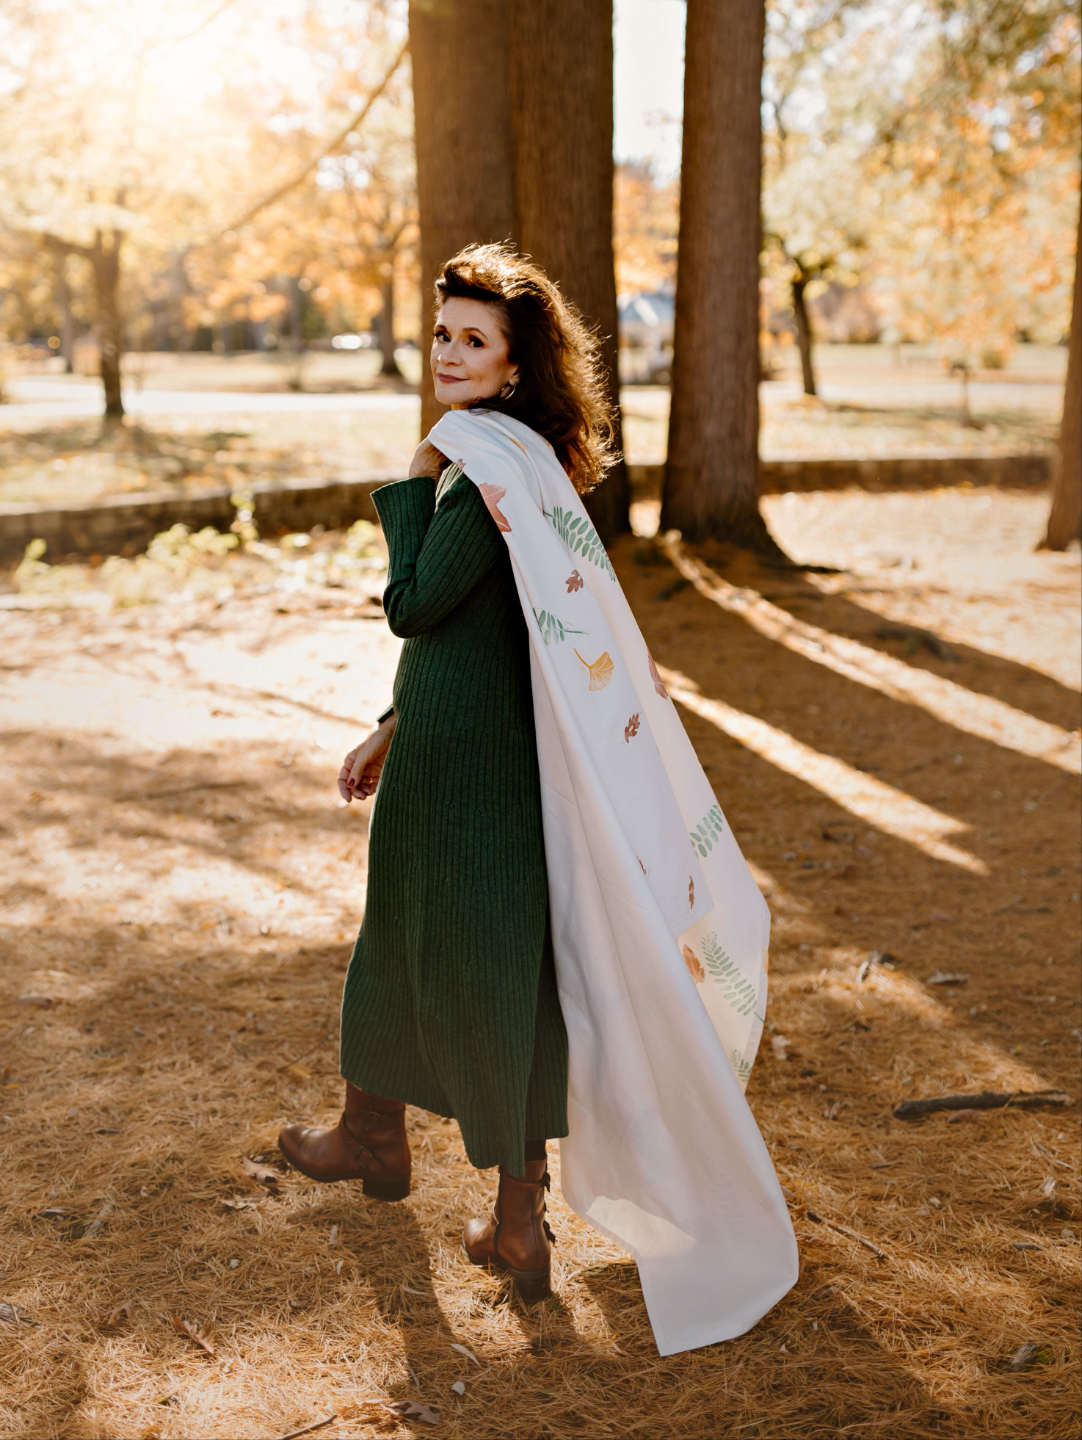
A Personal Note from Jenna
I can’t wait for you to join The Gel Print Studio.
I created this course because I saw a gap in the way gel printing is often taught. There are plenty of inspiring demonstrations — but very little clear, foundational instruction that explains technique, layering, and composition in a structured way. I wanted to change that.
Over time, I’ve learned that strong prints aren’t accidents. They’re built. When you understand how to control a one-layer pull, how to register a second layer, and how to think about composition intentionally, your confidence grows quickly — and your results reflect that. This course walks you through that process step by step.
If you are new to gel printing, or if you’ve been experimenting and are ready to build real skill, you are exactly where you should be. The Gel Print Studio is designed to give you a solid foundation — not random tips, but a clear progression.
And your enrollment is completely risk-free. After completing Modules 1 and 2, if you decide the course isn’t right for you, I will refund your full payment.
I stand behind this course, and I would be honored to guide you inside it.
Warmly,
Jenna